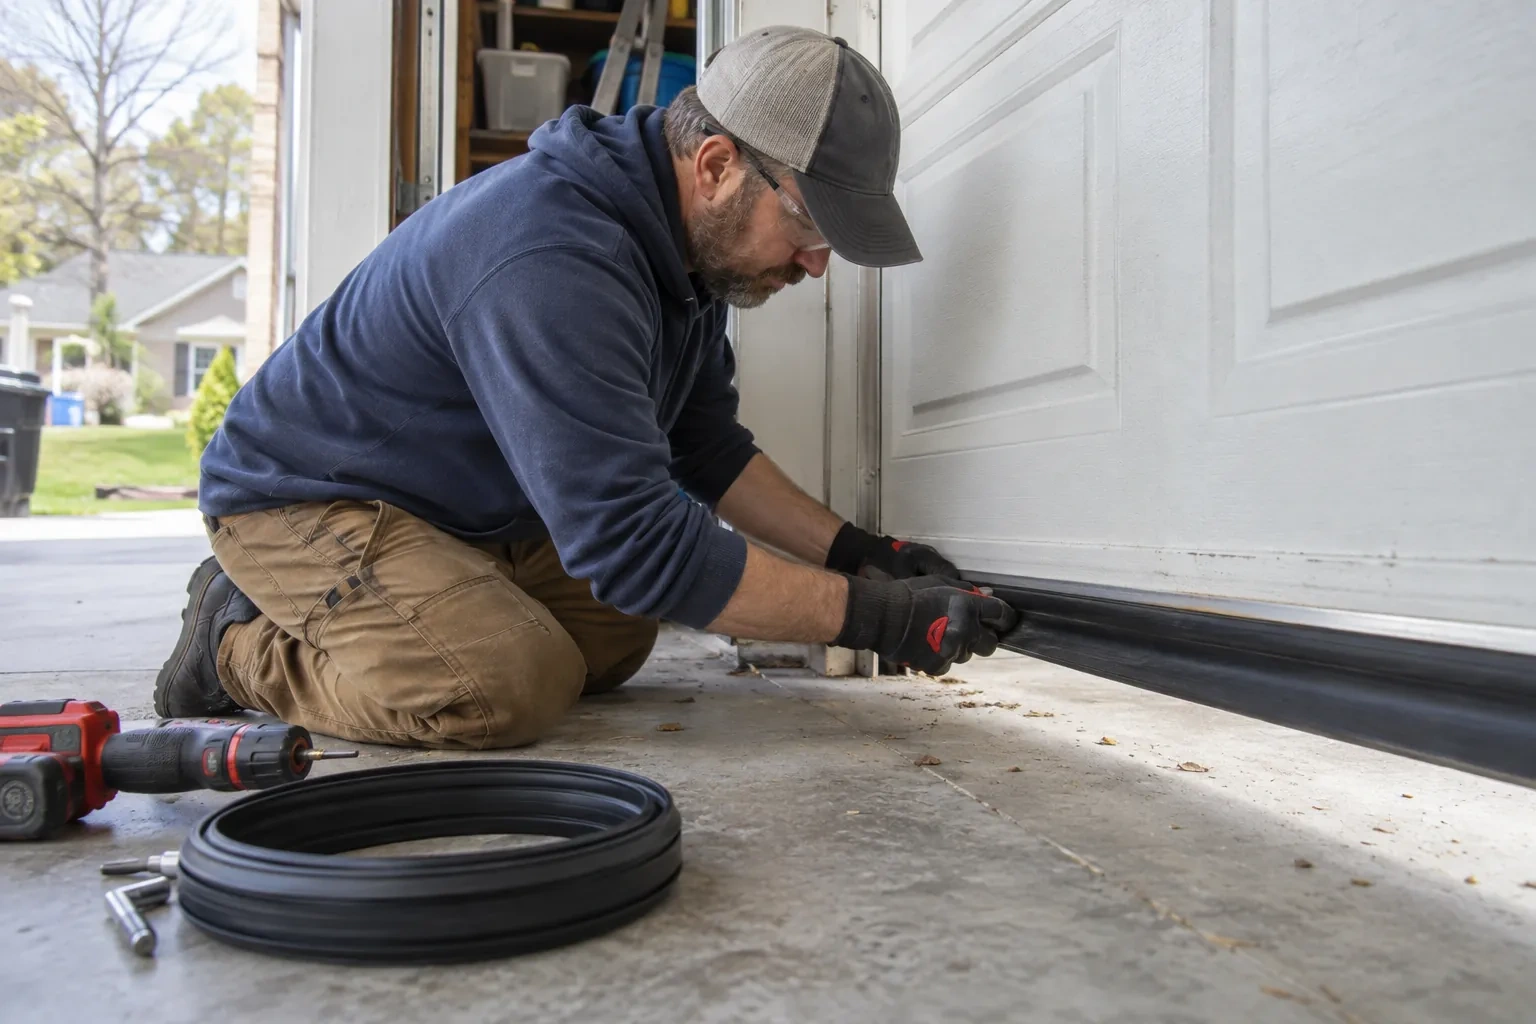
Openers · Mount Pleasant
Smart Garage Controller Setup in Mount Pleasant
A smart hub arrived in the mail with a coin-cell sensor and two wires. The instructions ask what colour your learn button is and how old the opener is.
Smart Garage Controller Setup
In plain words
A smart controller is only as good as the wireless signal at the garage ceiling, often the farthest corner of the house from the router. The technician measures signal where the hub will sit, on the 2.4 GHz band most hubs use, before anything is mounted. A strong reading means a straightforward join to your network. A weak one, common in detached garages and behind insulated steel doors, is solved with a small access point or extender placed to bridge the gap, rather than an install that keeps dropping offline. Once connected, the hub takes its firmware update and holds its link through router restarts on its own.
How the visit goesIt is February. You come down in the morning and the garage door has stood open all night; the car is frosted inside, the furnace has run without a pause, and the pipe in the shared wall is your first worry. Nobody knew, because nothing told anyone.
Mount Pleasant
How the visit goes
Where the sensor will sit
The door-position sensor works by tilt, so it belongs on the inside face of the top door section, near a hinge line and clear of the opener arm, the lock bar and any handle. The technician checks the panel surface, since insulated steel and raised-panel wood doors have different flat spots, and checks the distance and line of sight to the hub. Homes with two doors need a sensor on each. On a door with a window section the sensor is kept away from the glazing frame. The battery type is noted, and the mounting follows the sensor maker's specified fasteners for this climate: screws, an adhesive strip, or tape as a temporary step before screws.
Pre-motion warning and the safety tests
Before handover the technician steps outside, out of sight of the door, and sends a close command from the app. The hub's beeper sounds and its light flashes for several seconds before the door moves, exactly as the operator standard requires for a command from someone who cannot see the doorway. Then the door is closed onto a length of 2x4 laid flat on the floor and must reverse on contact, and while closing again the photo-eye beam is broken and the door must stop and rise. Every existing control is tried too: wall console, each remote, the outside keypad. A door that passes all of this is ready to hand over.
The monthly tests still matter
Adding a controller changes nothing about the physical checks the door needs, and adds one. Each month, lay a 2x4 flat under the door centre and close it; it must reverse on contact. Break the photo-eye beam with a broom handle while closing; it must stop and rise. Then close the door from the app out of sight, and listen for the beeper and watch for the light before movement. If any of the three fails, stop using the opener, move the door by hand only if it must move, and have a technician correct it before the opener is used again. These tests take a couple of minutes and are why remote closing can be trusted.
Smart Garage Controller Setup
In the van
- Wi-Fi access point or extender
- Plug-in power adapter
- Lithium coin cell or cylindrical cells
- Mounting screws and brackets
- Door-position tilt sensor
What affects the quote
Same fees day, night or weekend
1Photo eyes needing attention first
Remote closing requires a working sensor pair. Realigning a bracket is small; replacing a failed pair and running new wire is a separate item the technician names before starting.
2Built-in radio or retrofit hub
An opener whose wireless radio is already inside needs configuration and testing. An older opener needs a hub, a sensor, wiring or radio pairing and the same testing, which is a longer visit with hardware.
3Ceiling height and access
A standard garage puts the head unit and the top door panel in easy ladder reach. High ceilings, storage lofts or a car that cannot move add setup time.
Smart Garage Controller Setup: questions
My garage is detached. Will the signal reach?
Sometimes on its own, often with help. A driveway, two exterior walls and a metal-clad garage can knock a signal down to the point where the hub connects but drops offline regularly. The technician measures at the mounting spot and, where the reading is marginal, adds a small access point or extender positioned to bridge the gap, so the hub joins a strong signal from day one rather than a weak one you have to keep nursing.
Why does the door beep and flash before it closes from the app?
Because someone closing a door they cannot see needs to give anyone near it a warning. The operator standard for garage door openers requires an audible alarm and a flashing light for several seconds before a door moves on an unattended command, along with working photo eyes. The beeper and light are built into the controller for that reason, and they are tested during setup so you have heard them yourself.
Can I see who opened the door and when?
Yes. The app keeps a history of every open and close with the time and, where a user was signed in, the name. Opens from a remote or the wall button are logged as well, though without a name attached. Many people find this the feature they use most: confirming that a teenager arrived, that a delivery went in, or that the door really did close at bedtime.
Openers & Access
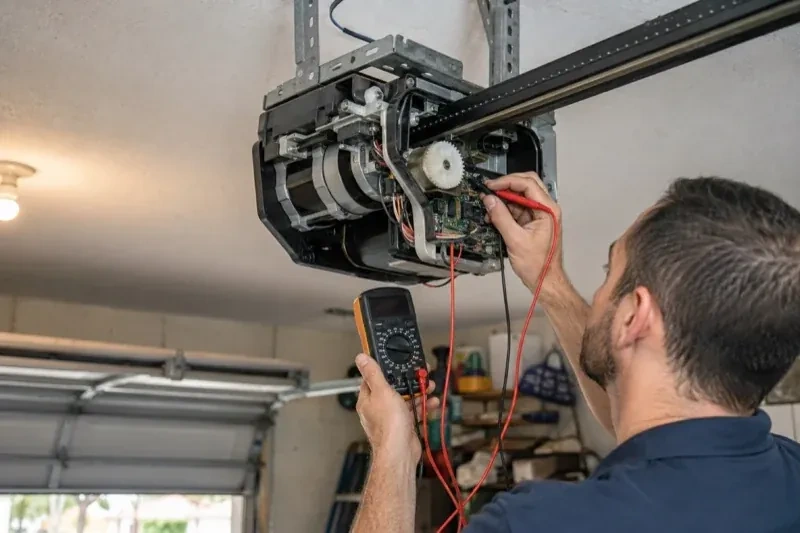
- Chain-Drive Opener RepairThe motor runs, you can hear it working, but the door never moves.
- Belt-Drive Opener RepairIt is minus twenty in the detached garage and the door climbs in jerks, the belt stiff as a board.
- Garage Door Opener ReplacementThe opener in the ceiling is older than the car parked under it.
Smart Garage Controller Setup near you
Everything we do for garage doors in Mount Pleasant starts with a proper look at the whole door. From there the service might be a small adjustment, a set of new rollers, a spring replacement, an opener repair or a new door. The pages here explain each option so you can follow the reasoning.